Update ComfyUI
Use a recent build, update Manager and restart before importing the workflow.
Install · Import · Generate
Install the model files in the correct folders, choose an official T2V, I2V or R2V workflow, verify each loader, and run one short diagnostic clip before adding heavier settings.
MiniMax H3 community weights have an official license with territory and use conditions. This independent guide is not legal advice. Read the current MiniMax H3 Community License Agreement for your location and use case.
Quickstart
Use a recent build, update Manager and restart before importing the workflow.
Choose a supported diffusion model, text encoder, video VAE and optional audio VAE.
Keep diffusion, encoder and VAE files in their separate model directories.
Drag the official workflow into ComfyUI and select your installed filenames.
Step 5: queue a short moderate-resolution test. Once it succeeds, save that workflow as your clean baseline before adding cache, LoRAs, longer clips or audio.
Model files
Use the Comfy-Org MiniMax H3 repository as the current file index. Download only the variants required by your chosen workflow.
ComfyUI/models/diffusion_models/
ComfyUI/models/text_encoders/
ComfyUI/models/vae/
Do not rename files just to match a screenshot. Open the loader dropdown and select the filename that is actually installed. If it is missing, rescan models or restart ComfyUI.
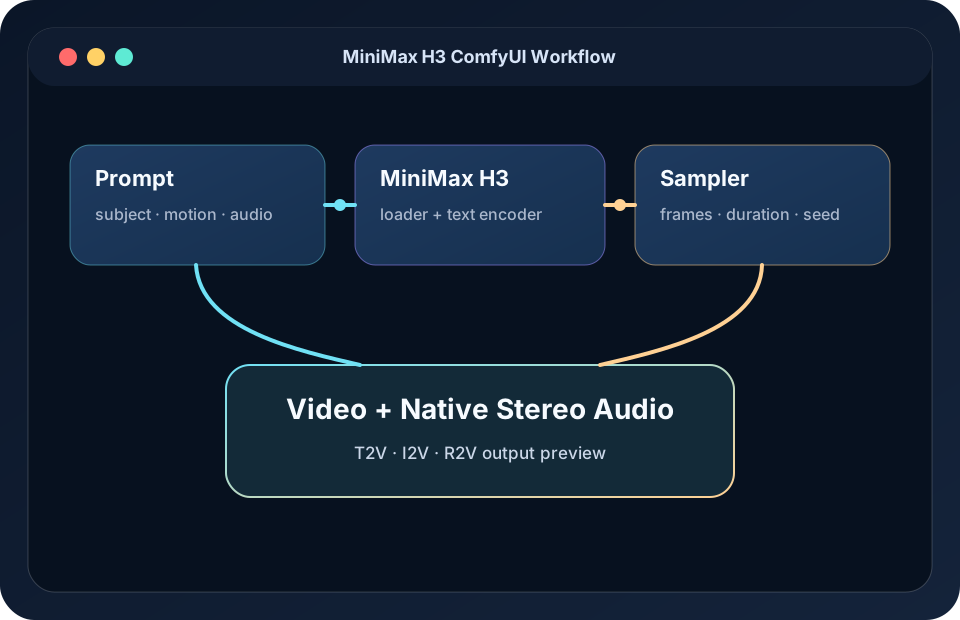
A workflow is a map of dependencies. Resolve red or missing nodes before adjusting generation quality.
Official templates
| Workflow | Use it when | Input | Official JSON |
|---|---|---|---|
| T2V | You want the simplest prompt-to-video test | Text prompt | video_minimax_h3_t2v.json |
| I2V | A source image must control composition, product or identity | Image + prompt | video_minimax_h3_i2v.json |
| R2V | You need reference media conditioning | Reference media + prompt | video_minimax_h3_r2v.json · setup guide |
Import checklist
Community workflow
A community author published `MBEDIT-MMH33_r2v_TurboLora_v6.json` for an RTX 3060 12GB, 32GB RAM and Windows 10 setup. The associated report used 1344×768, five seconds, SageAttention, Turbo LoRA, no cache and no audio, with about a ten-minute result.
Open the public workflow directory · Read the original report
Status: Community-reported · Site test pending. Custom workflows can require nodes and model variants beyond the official template.
Common setup errors
Check the folder, filename and file completion, then restart ComfyUI. A partial download may appear on disk but fail to load.
Install the exact named custom-node repository. Restart and reload the JSON before installing another pack.
The text encoder or model handoff may be the problem. A lower sampler resolution cannot fix every pre-sampling OOM.
Confirm the workflow includes the audio VAE and audio path. Some optimized community workflows intentionally disable audio.
FAQ
Comfy-Org publishes official MiniMax H3 T2V, I2V and R2V JSON templates in its workflow_templates GitHub repository. Choose the task first, download that JSON, and then select the model files installed on your machine.
Put diffusion files in ComfyUI/models/diffusion_models, Qwen3-VL text encoders in ComfyUI/models/text_encoders, and video or audio VAE files in ComfyUI/models/vae.
Start with T2V if you only have a prompt. Use I2V when a source image must control composition or identity, and use R2V when the workflow needs reference media. Run a short test before enabling audio or increasing frames.